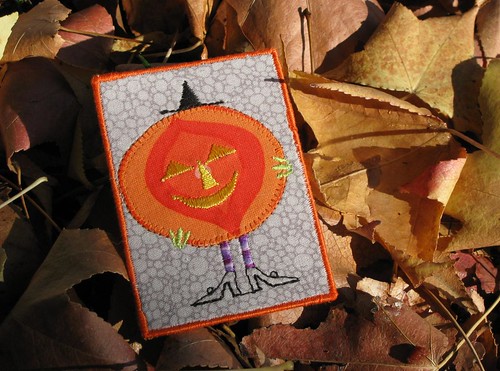
Shhh, don’t tell the Mother! I made a version of this for her for Christmas, but shipping and travel plans got miscoordinated and she hasn’t got it yet. It’s just a quicky project I threw in with some other stuff for her, so the surprise shouldn’t be totally ruined.

It’s not a fussy project—just a little something functional that can be prettied up as much as you like by choosing fun fabrics or embellishments. A sewist can never have enough pincushions, and spare needle cases don’t seem amiss to me either—inevitably I end up sticking needles in one of said pincushions and then losing them inside, so the more proper places for needles the better! (There’s a pocket for needle packets inside, so you can also keep fresh needles separate from their gently used brethren.)

Finished Size
2½" × 4" (folded closed)Materials
This project is great for scraps of fabrics and interfacing—I don’t know exactly what interfacings I used, ’cause I pulled bits from the scrap bin. You just want a combo of fabric and interfacing that’s slightly stiffer than floppy quilting cotton alone.- 5½" × 4½" piece of linen or quilting cotton for exterior
- 9½" × 4½" piece of quilting cotton for interior
- 2" × 3½" piece of felt (preferably wool or wool-blend)
- 5" × 4" piece of medium-weight fusible interfacing
- 9" × 4" piece of lightweight fusible interfacing
Instructions
- Fuse the medium-weight interfacing centered on the wrong side of the exterior fabric, following manufacturer’s instructions. Fuse the lightweight interfacing centered on the wrong side of the interior fabric.
- Fold the interior piece right sides together 5¼" from the right-hand short end.
Then fold the upper section back to form the pocket so the folded piece measures 4½" × 5½". Press to hold the folds. - With right sides up, place the felt on the unfolded section of the interior piece about ½" from the raw edges. Stitch the felt to the interior along the felt’s top edge; you can use a decorative stitch like I did here, but a straight stitch will work too—just be sure to secure the ends. I also trimmed the bottom edge of the felt with a scalloped rotary blade.
- If desired, embellish the exterior. The interfacing is a handy stabilizer for decorative stitching—see my stitch guide for the combination of built-in stitches I used on the linen needle book shown at the top of the post.
- Put the interior and exterior pieces right sides together, making sure the pocket is still folded so all raw edges match. Sew around the perimeter with a ¼" seam allowance, leaving a gap for turning on the bottom edge, avoiding the pocket section.
- Clip the corners and turn the needle case right side out through the opening. (If you’re paying attention, you’ll see that I wasn’t…)
Push out the corners gently and press flat, folding in the seam allowances at the opening. - With the needle case open (i.e., unfolded), topstitch along all outer edges, closing the gap in the bottom.
- Fold the needle case in half and press to set the crease in the center.