I’ve been on a bit of a blogging hiatus between the inevitable Christmas crush and some exciting work stuff that must remain under wraps for now, but since we’re ticking the final hours of 2011 away, I thought I’d best get around to posting my projects from the Winter and Gifts issues of Stitch—I think they’re still on newsstands, so I’m not totally out of date!
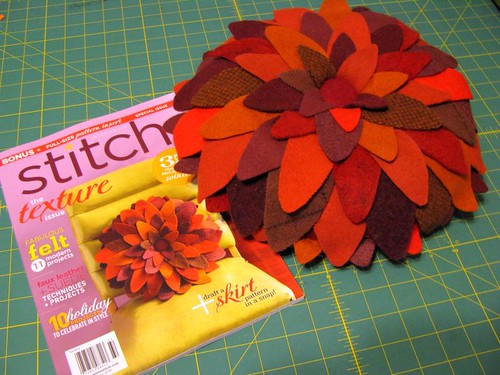
I was thrilled to see my Wool Petals Pillow on the cover. If you’ve got a stash of wool, it’s one of those deceptively simple projects that looks more luxe than it really deserves to. Unfortunately the pillow is now stashed in the closet to keep little claws from “inspecting” it…
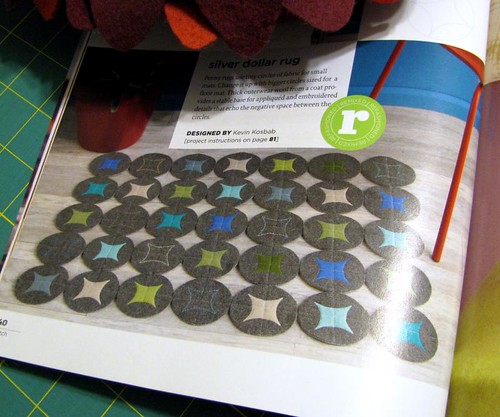
Said claws thankfully don’t seem to be as interested in my other wool project for the Winter issue, the Silver Dollar Rug. The Other had a grey wool coat that was getting no use here in California, so I felted it and cut it into big circles as a larger-scale riff on penny rugs. We moved this summer into a house with wood floors, so we’re finally able to enjoy fun throw rugs.
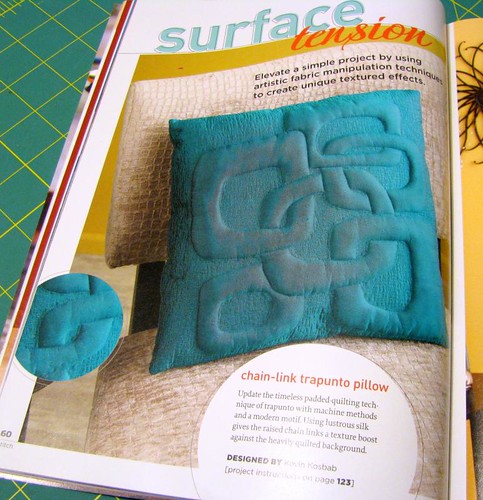
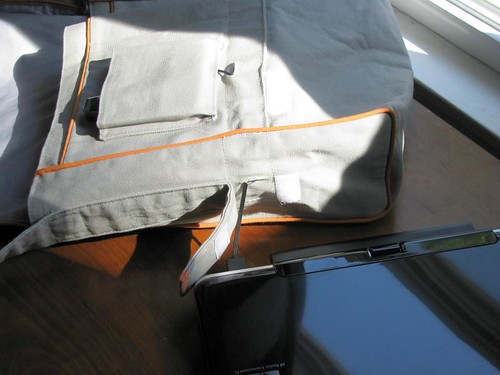
I’ve long thought trapunto was ripe for a modern interpretation, and this Chain-Link Trapunto Pillow was the eventual result. The slight brown tinge in the image isn’t a misprint: the silk I used was cross-woven with teal in one direction and brown in the other, which is especially striking for dimensional techniques like this. I love how the pillow turned out and I’m itching to make some similar pillows with other designs.
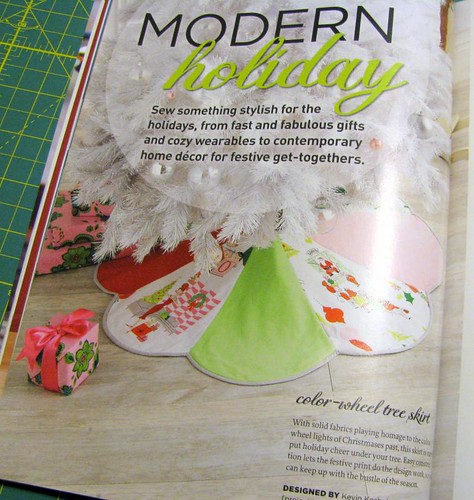
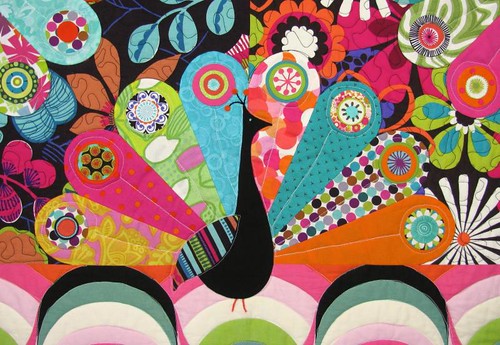
It’s a little late to be showing a tree skirt—though I could certainly use with a head start for next Christmas! This Color-Wheel Tree Skirt is a fun way to use a large-scale holiday print.

I hope you all had a lovely holiday and wish you happy sewing in the new year!


 The Fall issue of
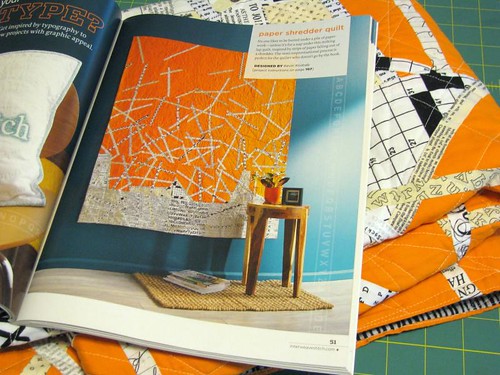


")
")