Pages

Showing posts with label tutorial. Show all posts

Monday, January 06, 2014

Christmas Catch-Up: Simple Needle Book tutorial

Simple Needle Books
Shhh, don’t tell the Mother! I made a version of this for her for Christmas, but shipping and travel plans got miscoordinated and she hasn’t got it yet. It’s just a quicky project I threw in with some other stuff for her, so the surprise shouldn’t be totally ruined.

Simple Needle Books
It’s not a fussy project—just a little something functional that can be prettied up as much as you like by choosing fun fabrics or embellishments. A sewist can never have enough pincushions, and spare needle cases don’t seem amiss to me either—inevitably I end up sticking needles in one of said pincushions and then losing them inside, so the more proper places for needles the better! (There’s a pocket for needle packets inside, so you can also keep fresh needles separate from their gently used brethren.)

Simple Needle Book

Finished Size

2½" × 4" (folded closed)

Materials

This project is great for scraps of fabrics and interfacing—I don’t know exactly what interfacings I used, ’cause I pulled bits from the scrap bin. You just want a combo of fabric and interfacing that’s slightly stiffer than floppy quilting cotton alone.


Instructions

  1. Fuse the medium-weight interfacing centered on the wrong side of the exterior fabric, following manufacturer’s instructions. Fuse the lightweight interfacing centered on the wrong side of the interior fabric.

    interfaced fabrics

  2. Fold the interior piece right sides together 5¼" from the right-hand short end.

    first fold to 5¼" wide
    Then fold the upper section back to form the pocket so the folded piece measures 4½" × 5½". Press to hold the folds.

    fold pocket back on itself

  3. With right sides up, place the felt on the unfolded section of the interior piece about ½" from the raw edges. Stitch the felt to the interior along the felt’s top edge; you can use a decorative stitch like I did here, but a straight stitch will work too—just be sure to secure the ends. I also trimmed the bottom edge of the felt with a scalloped rotary blade.

    felt needle pad attached with decorative stitch

  4. If desired, embellish the exterior. The interfacing is a handy stabilizer for decorative stitching—see my stitch guide for the combination of built-in stitches I used on the linen needle book shown at the top of the post.

  5. Put the interior and exterior pieces right sides together, making sure the pocket is still folded so all raw edges match. Sew around the perimeter with a ¼" seam allowance, leaving a gap for turning on the bottom edge, avoiding the pocket section.

    opening left in bottom edge to side of pocket

  6. Clip the corners and turn the needle case right side out through the opening. (If you’re paying attention, you’ll see that I wasn’t…)

    oops, I left my opening at the top rather than the bottom...no big deal
    Push out the corners gently and press flat, folding in the seam allowances at the opening.

    edges pressed

  7. With the needle case open (i.e., unfolded), topstitch along all outer edges, closing the gap in the bottom.

    topstitching keeps edges nice and flat

  8. Fold the needle case in half and press to set the crease in the center.

    finished needle book, closed

    finished needle book, open
That’s it! Stay tuned for a tute on ribbon appliqué, which I used on another of these needle books as well as kitchen towels.

Wednesday, November 21, 2012

Solids in EQ7

It’s been awfully quiet round these parts, mainly because my book and several other projects are keeping me busy, but I wanted to come out of the woodwork to mention a guest post I wrote up for the EQ blog, which went live yesterday.

solidslib

It’s all about using solid fabrics in EQ7, including converting the built-in solid colors to real solid fabrics produced by various manufacturers. The magic ingredient is a Solid Fabrics library you can download and add to your EQ7 Fabric Library, painstakingly created by yours truly (OK, so I take perverse pleasure in cataloguing and organizing things like that, but it still took quite a bit of time).

The download link was left out when the post went up yesterday, so in the meantime you can download the library from my website. Update: The library file is now uploaded and linked from the EQ blog post, so you can download it direct from there too.

It’s a long post, but if you design in EQ and sew with solid fabrics, I think you’ll really find it helpful!

Monday, August 22, 2011

EQ7 Tutorial: Changing block size and merging shapes into a single EQ block

If you’ve started working in EQ7 on your block design competition entry, you may have noticed that the AccuQuilt blocks are drawn at the same overall size as the corresponding die—so if you want to use shapes from a 6" × 12" die, say, it looks like your block has to be that size: if you change the dimensions of your block canvas in EQ, the shapes change too, which means they’re no longer cuttable using the the dies. It gets even trickier when you want to work with shapes from multiple dies to make a block, especially when the shapes come from dies that are different sizes. medallion2

But it can be done! This 12" block is proof of that. It uses shapes from the Go Daisy die (6" × 6") and the Go Feathers die (5" × 10"), and the shapes are all kept at their original, die-cuttable sizes.

Here’s how I was able to retain the original sizes and work with shapes from multiple dies in a single block. This is the easiest way I’ve found, but leave a comment if you have any other tricks!

  1. After adding the AccuQuilt die blocks you want to work with to your Sketchbook, open one of them on the Block Worktable (this one is the full Daisy block). Make sure your Precision Bar is showing (turn it on or off in the View menu). Select all the shapes shown in the Applique tab with the Pick tool (hit Ctrl+A to select them all automatically), and note the dimensions shown in the Precision Bar:
    image
  2. Deselect the shapes by clicking elsewhere on the worktable. The Precision Bar will now show the size of the block itself:
    image
    Since the Daisy die measures (nominally) 6" × 6", that’s the size this block was drawn at. Change the numbers in the Block Width and Block Height fields to the size you want your actual block to be—for this example, a 12" × 12" block. The shapes will stretch to match the new proportions:
    image
    As a result, the block looks exactly the same at this point—only the ruler and Precision Bar show that it’s been scaled up to 12". But we want to use shapes we can actually cut with the die, so they have to be changed back to the size they were in the 6" block.
  3. Select all the shapes again.
    image
    The dimensions now shown in the Precision Bar aren’t significant. Replace them with those you noted in Step 1, and you’ll get this:
    image
    The shapes are now back to the size at which they were originally drawn—that is, the size the die will actually cut. Save this block to the Sketchbook. If you want to design a block using shapes from just this one die, you can go ahead with your design at this point. But if you want to add shapes from other dies…
  4. View the Sketchbook and edit the block with the shape you want to add. I only needed the teardrop shape from the Feathers die, so that’s the block I used. Again note the dimensions of the shape(s):
    image
    Then copy the shape to the clipboard, using the toolbar button or Ctrl+C.
  5. View the Sketchbook again and edit the block you saved in Step 3. Then paste the shape from the clipboard (toolbar or Ctrl+V). It will be selected when you paste it, showing that its dimensions have changed to suit the proportions of the new block:
    image
    But again, this isn’t the shape’s size on the actual die.
  6. Change the shape dimensions to those you recorded in Step 4:
    image
    Now the shape is scaled appropriately, and you can move, rotate, flip, and otherwise rearrange the shapes with confidence that the die cutter will still work—as long as you don’t resize the shapes, of course.

By the way, this method will work for any EQ blocks, not just those based on AccuQuilt dies—pull shapes from the Block Library blocks into your own designs, or vice versa.

Wednesday, August 03, 2011

Tutorial: Fussy-cutting stripes with AccuQuilt triangle dies

AccuQuilt pincushion

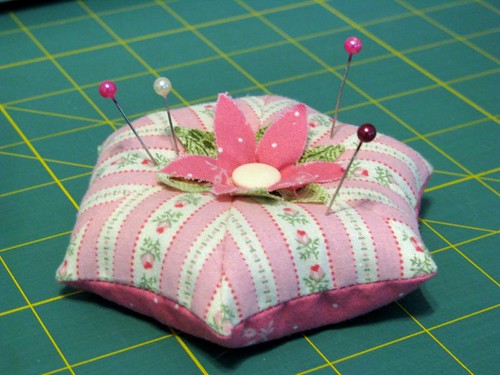
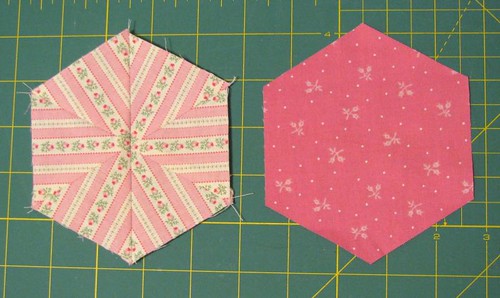
Triangles cut from striped fabric can be used for lots of cool piecing effects, like setting the stripes to make concentric shapes or to radiate from a central point, as in this version of my hexagon pincushion. With a little care, this is pretty easy to do using an AccuQuilt Go triangle die—I’m again using the trusty Equilateral Triangles die they sent me, but this method could be adapted to any die for half-square triangles, isosceles triangles, or what-hast-thou.

Definitely start by watching Ebony Love’s video series (part 1, part 2, and part 3) on marking AccuQuilt dies. She gives a very thorough explanation of how she marks her dies not only to make the blades easier to see but also to help with fabric placement. Per her recommendation, I used a silver Sharpie pen to mark up my die; other opaque, light-colored permanent markers could work too.

Wednesday, July 27, 2011

Tutorial: AccuQuilt Equilateral Triangle pincushion

AccuQuilt pincushion

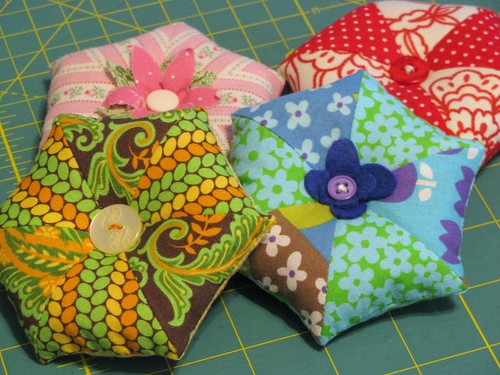
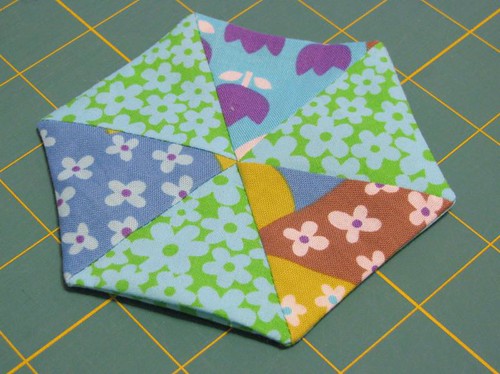
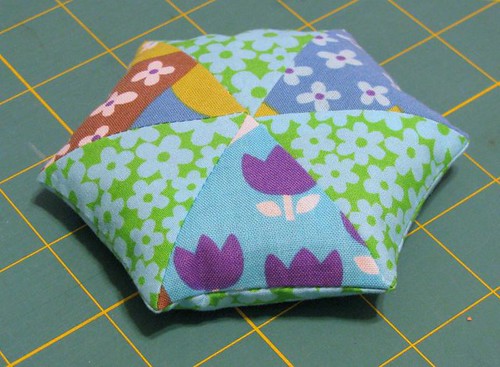
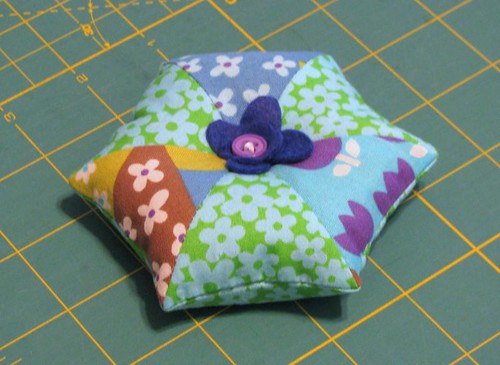
When I first talked about the dies AccuQuilt sent me, I mentioned that dies like the Equilateral Triangles and Hexagons were designed to work together. If you sew six of the triangles together, they’re the same size as the corresponding hexagon—and that’s really all there is to this pincushion! But I’ll walk you through the details.

For most of the pincushions I’ve made so far, I used two different fabrics (longtime readers may recognize scraps from my Hilltop Drive quilt for Stitch), but you could also make it scrappy with a different fabric for each triangle. In my next post I’ll show you how I matched the stripes up using just one fabric for the pink pincushion.

Each of these dies has three sizes of the shapes; this tute uses the biggest ones, but the process would be the same to make a smaller pincushion with the smaller shapes.

What you need


How to make it

Seam allowances are ¼". Sew all pieces with right sides together unless otherwise specified.

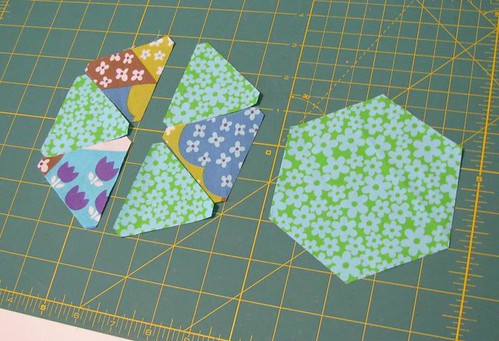
  1. Using the dies, cut out 6 large triangles and 1 large hexagon. I cut 3 triangles from each of my fabrics. Arrange the triangles to form a hexagon, alternating fabrics. Try to align the fabric’s grain with the dies’ blades so at least one edge of each piece will be on the straight of grain.
    AccuQuilt pincushion
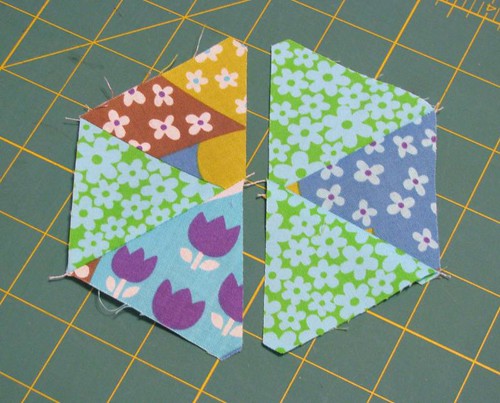
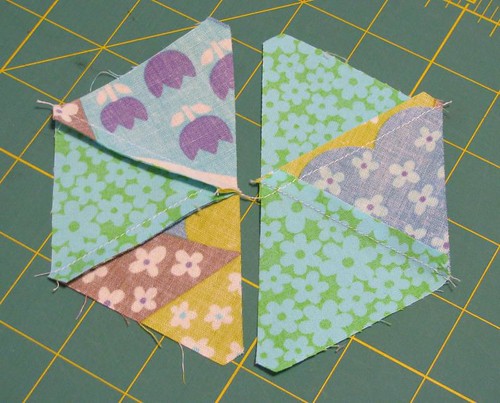
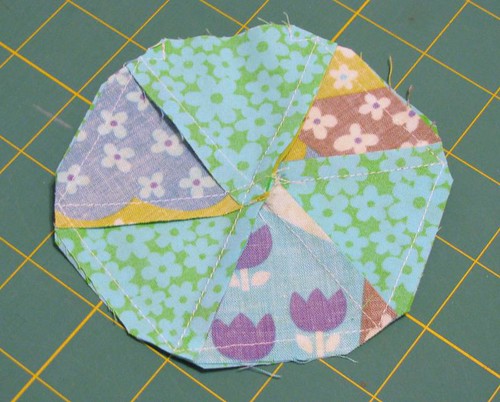
  2. To avoid Y-seams, sew the triangles together to make 2 half-hexagons, 3 triangles each. (Use a short stitch length if you’re filling with small particles like walnut shells.) Chain-piecing makes this super easy: sew the first 2 triangles from the left half-hexagon, then the first 2 triangles of the right half-hexagon, then add the third triangle to the left section, then the third to the right. Press the seam allowances in opposite directions for each half-hexagon.
    AccuQuilt pincushion
    AccuQuilt pincushion
  3. Put the half-hexagons right sides together, matching up the outer edges and the seams. Pin if desired (I just rely on my machine’s dual feed for small projects like this), and sew the half-hexagons together on the longest edge. Press the seam allowance to one side. You should have a pieced hexagon equal in size to the die-cut hexagon, and thanks to the blunt corners of the triangles, no dog ears to chop off. I forgot to take a picture of this for the blue and green pincushion, so here it is in pink:
    AccuQuilt pincushion
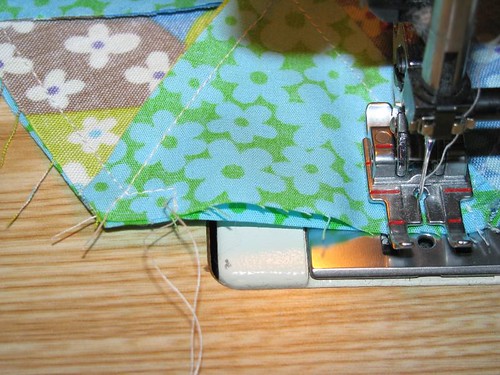
  4. Put the pieced and die-cut hexagons right sides together. To help turn the open edge in after filling the cushion, start sewing perpendicular to the edge, sewing in ¼" and then pivoting 90 degrees to sew the actual seam. This photo shows the stitching at the start of my seam on the left, and the presser foot is positioned to sew out to the edge the same way after sewing all the way around the hexagons:
    AccuQuilt pincushion
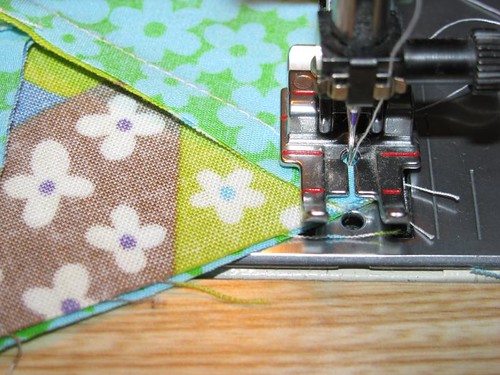
    Leave a gap as shown for filling, and sew the hexagons together using the triangle seams as guides for where to pivot at corners—when your needle meets the stitching, leave it down in the fabric (shown below), lift the presser foot, pivot to sew the next side, put the foot back down, and keep going until you get back the triangle you started on (finish the end as shown above).
    AccuQuilt pincushion
  5. Clip the corners (and pretend my seams are perfect).
    AccuQuilt pincushion
  6. Turn the cushion right side out through the gap, using a chopstick or other blunt tool to gently push out the corners, then give it a quick press. Looks much tidier this way, no?
    AccuQuilt pincushion
  7. Spoon walnut shells into the cushion through the opening. You may want to set the cushion in a small box or bowl to catch any shells that go astray. Walnut shells are supposed to act like emery to sharpen pins, and I also like that they give the pincushions a little more heft than polyfill. A 7-pound bag of ground shells cost me about $10 at the pet store and is way, way, way more than I needed for all four of these cushions; I’m going to share the remains with anybody at my quilt guild who wants to make pincushions for our quilt show shop. Anyway, stuff the pincushion as full as you’re comfortable with, but make sure there’s a little give so you can cinch through the center without bursting seams and showering your sewing space in nut shells. Then ladder-stitch the opening closed.
    AccuQuilt pincushion
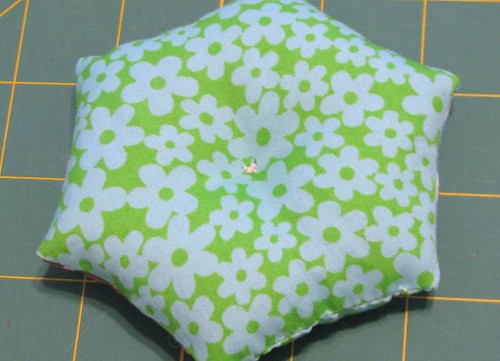
  8. If your button isn’t particularly dazzling, cut a flower or two from felt or fabric and center it right side up on the top of the pincushion. Using strong thread, sew the button centered on top, sewing all the way through the pincushion to cinch it in the middle. The stitches on the back may want to pull the weave of the fabric open if your cushion is heavily filled; if you prefer, sew through another small button on the back to support the stitches.
    AccuQuilt pincushion

All done! You can probably whip up a cushion faster than it took to read the instructions.

AccuQuilt pincushion

These pincushions would be great foundations for embellishing further—you could insert rickrack in the side seam or put more elaborate fabric flowers on top, or even just use a fancier button than I had in my stash. Leave a comment if you have other ideas!

If you’ve got a charity event coming up, feel free to make bunches of ’em to sell—the combination of scrap-friendliness and quick die cutting means they can be cranked out efficiently.

As mentioned above, stay tuned for details on how I marked up my die to fussy-cut striped fabric…and to learn how you could win your own Go Baby cutter and dies from AccuQuilt!

Wednesday, December 22, 2010

Holiday cards, part II: removable fabric charm squares

piles o' Christmas cards

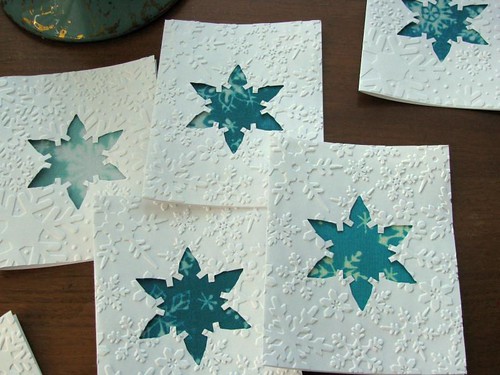
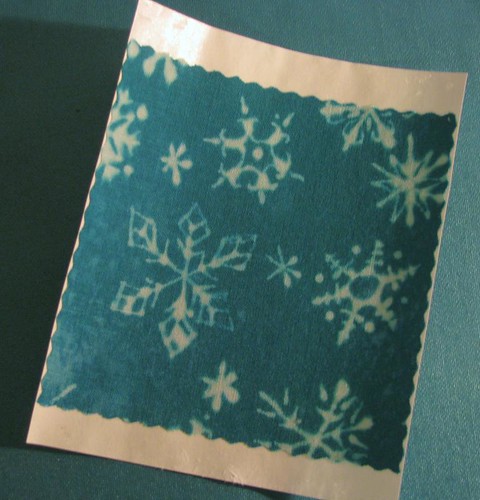
Feed Dog Flurry Christmas cards are out—hurrah! I’ve already shown you the fabric I drew in part I, so today I’ll show you just how I incorporated the fabric into the cards.

After much deliberating and prototyping, I decided everything would be much easier if I cut my fabric into mini charm squares—that is, 4" squares rather than the “official” charm square dimensions of 5". Shrinking to that size meant I could still feed the cards through my Sizzix BigKick machine for cutting and embossing without resorting to a nonstandard envelope size. So I made my cards A2 size, or a 5½×8½" sheet (half a letter-size page) folded in half, and may I just say that this designation is tremendously confusing as it has nothing whatsoever to do with international standard “A” paper sizes, by which “A2” would be about 4 times the size of letter paper. Anyway, now I know. And so do you, in case it ever comes up on Jeopardy.

card without fabric

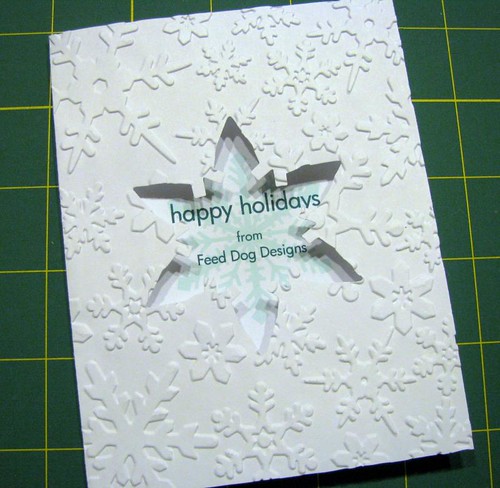
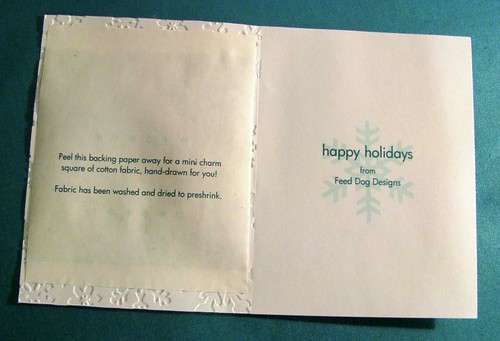
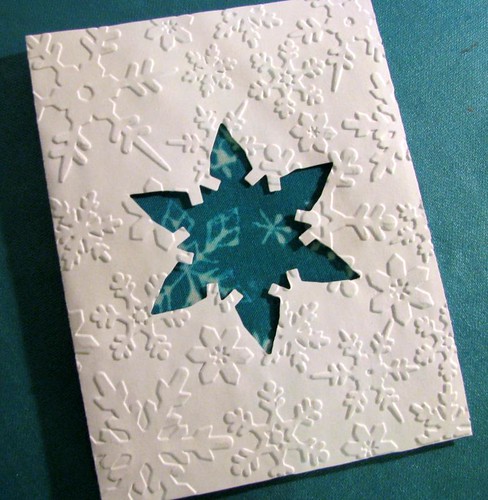
I printed my text and a snowflake on the inside of the card so it would be visible when I cut a window out of the front using a Sizzix Movers & Shapers snowflake magnetic die (you could cut a window whatever shape you want with a craft knife, of course). I embossed the card fronts with their Snowflakes #6 and Snowflakes #2 Textured Impressions folders after cutting the windows.

freezer paper card innards

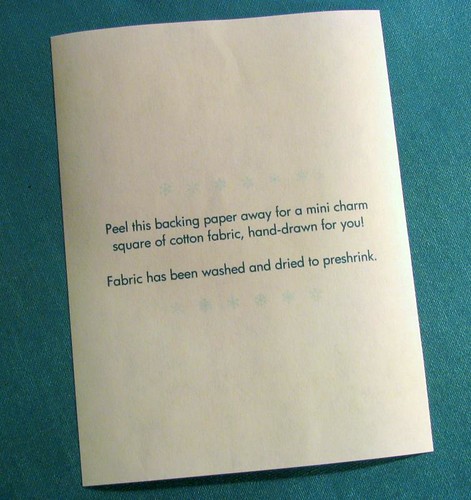
So here’s the trick: inside the card is a sheet of freezer paper that simultaneously explains to the recipient that yes, you should pull the card apart, and holds the charm square in place until the peeling commences. To hold the 4" square of fabric on the 4¼×5½" panel of the card, I set up 4⅛×5" freezer-paper labels, printed four on a page with an inkjet printer, and cut them to size. Precut letter-size freezer paper makes this a snap (and is a little meatier than the supermarket stuff), but you can cut regular freezer paper to page size for printing too.

charm square with freezer paper backing

Then place a charm square facedown on your ironing board, center a freezer-paper backing over it (shiny side to the fabric), and press the paper in place. When it’s cooled, peel the paper off your ironing board. There should be about ½" of freezer paper extending past the fabric on the top and bottom.

charm square adhered to card

Those ½" margins will adhere the freezer paper to the inside of the card front: iron them to the cardstock gently and they should stick well enough to hold the fabric in place without squashing the embossing. It doesn’t have to hold with the strength of a thousand men/women/beasts, since you’re telling people to tear it off when they get it.

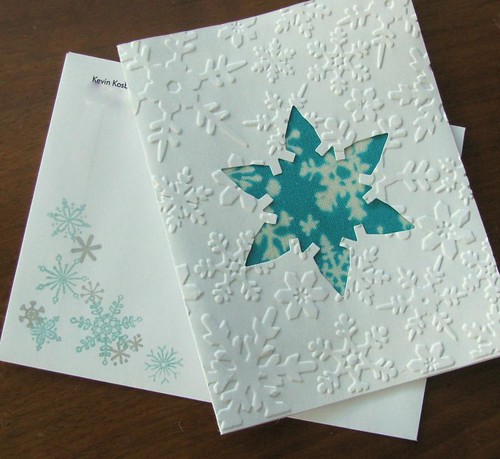
front of finished card

Close the card up, and there’s the fabric! I could have drawn my snowflakes so they’d be centered in the window, but just cutting the fabric as it was leaves the snowflakes peering enticingly through the window.

card with stamped envelope

Since I was on a papercrafting kick, I stamped the envelopes to match. But hopefully the cards use papercraft to show that I’m a fabric guy while giving my contacts a little tidbit of handmade fabric for their stashes.

I’ve got a little something for my blog readers’ stashes, too, so stay tuned!

Tuesday, December 14, 2010

Tutorial: felt pinecone ornaments

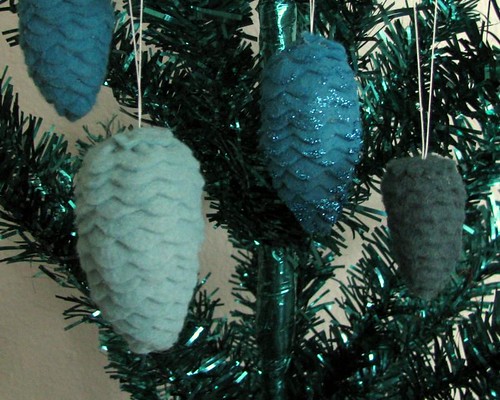
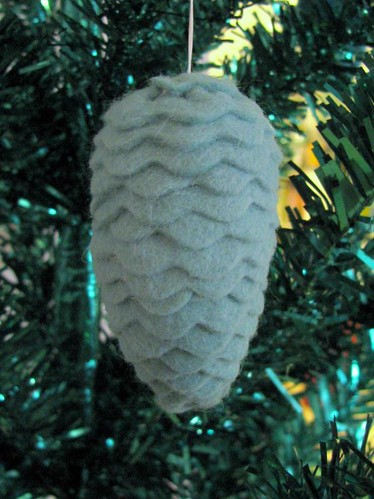
felt pinecone ornaments

Feed Dog Flurry The Other promptly named these ornaments “butt stingers,” as this is apparently what they call pinecones in the land from whence he came. He insists he didn’t make the term up; nevertheless I’m a little disturbed. Whatever you call them, the pinecone ornaments turned out rather snazzy, if I do say so myself, and they have the added bonus of looking trickier than they actually are.

basic pinecone ornament

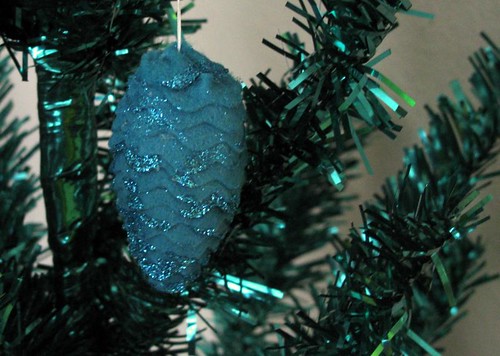
This is the basic version, but you can glam it up with glitter reminiscent of snow:

glittered pinecone ornament

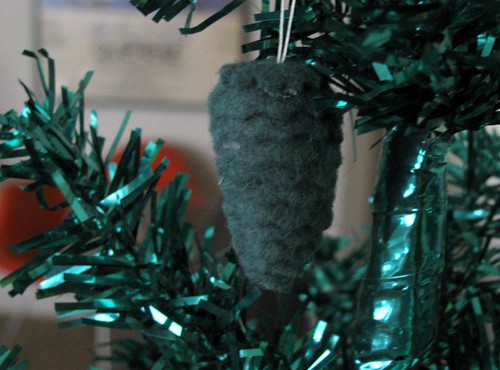
Use white glitter if you really want it to look like snow. Or make mini versions with pinked edges:

mini pinecone ornament

So how do you make the stinkin’ stingers? Well, follow along…

Supplies

  • Aluminum foil
  • Felt (you’ll use long strips, so a small amount of yardage would be best; ⅛ yard is more than enough for one ornament)
  • Scalloping shears or rotary cutter with scallop blade (or pinking shears/blade for mini version)
  • Hot glue gun with glue
  • Heavy thread and hand needle
  • Glitter, white glue, and disposable plate (optional)


Instructions

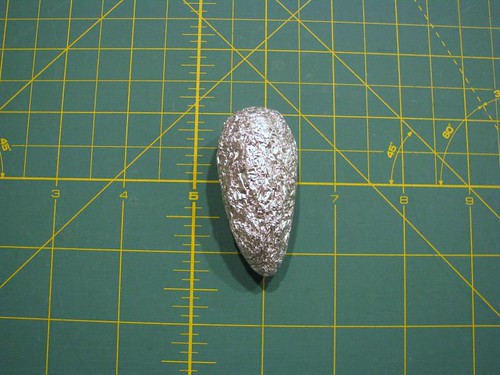
  1. Form a wad of aluminum foil into a shape vaguely resembling a pinecone. I made mine tall and fairly slender, but there of course are fatter cones out there, so do as you like. This foil blob became the large light aqua pinecone:step 1: foil blob
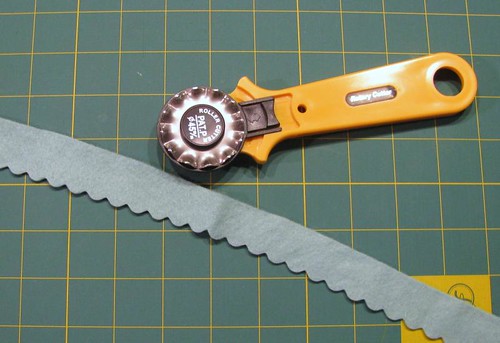
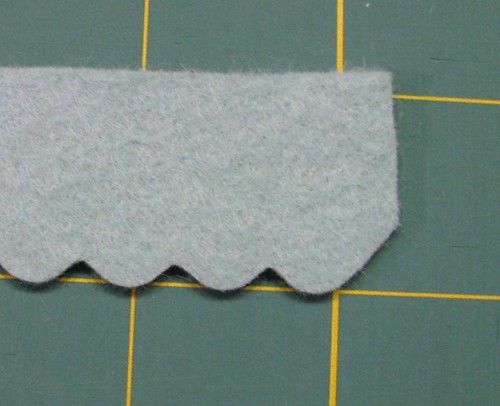
  2. Cut a strip about ½" wide from the felt, as long as you can, using the scalloping shears or rotary cutter. (If you can find scalloping shears, let me know—I’m beginning to think their existence is a hoax.) You’ll probably need to cut more than one strip, and it’s OK to leave on the inverted-scallop edge from cutting the first strip (actually, it’s helpful; see step 7). Do as I say, not as I show: the strip pictured is wider than it needs to be; ½" is plenty.step 2: slice up felt
  3. Your strip probably won’t end with a neat scallop. Trim off any partial scallops to make it easier to overlap the ends.step 3: hack off ends
  4. If you want to make the glittered version, pour some white glue onto a plate. Drag the scalloped edge of the felt through the glue. Then sprinkle glitter over the glue on the felt and let dry. Shake off the excess glitter when dry and then proceed with the rest of the instructions.
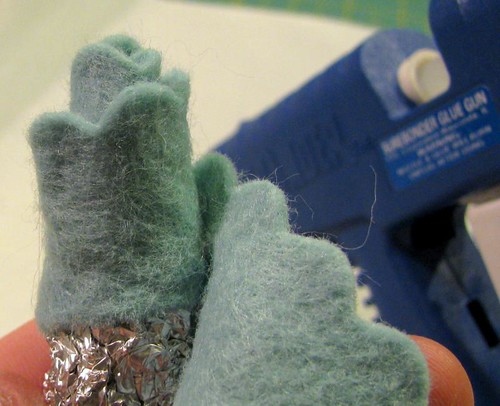
  5. Hot glue the end of the felt strip to the bottom tip of the foil blob, extending the scalloped edge a little bit beyond the foil. Wrap the strip tightly around the end to completely hide the foil tip. Wrap and glue in small sections so the glue doesn’t harden before you’ve stuck the felt to it.step 4: wrap the tip
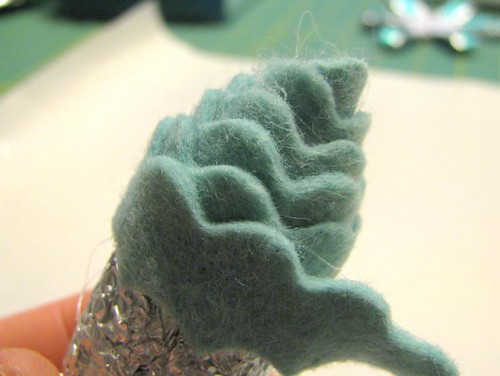
  6. Continue coiling the felt around the foil, overlapping the scallops so they look like individual scales. Add another strip if the first runs out, hiding the ends of the strips in the subsequent coils.step 6: coil around the foil
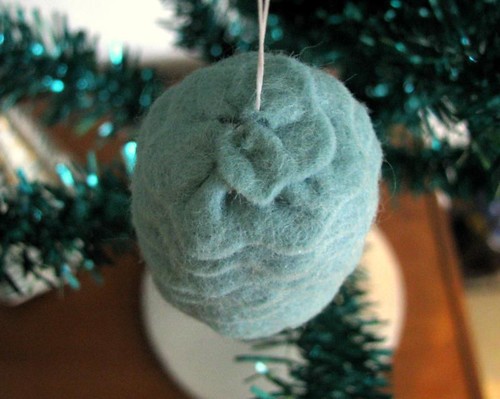
  7. The top of the ornament can be dealt with a couple of ways. As you can see in the photo above, the edge of my strip opposite the scallops had inverted scallop notches cut into it from a previous strip, and these notches helped the felt ease around the curved top:step 7: gather around the top
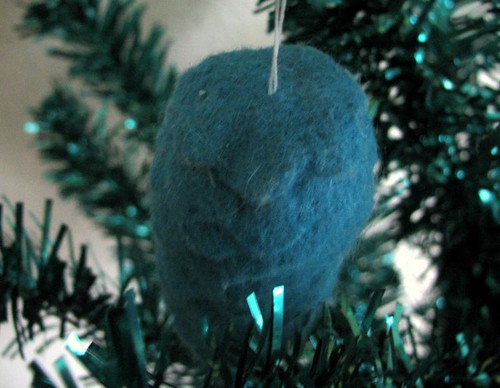
    Instead, you could cut a circle of felt with the same scallop edge and glue that on, as I did for the bright aqua pinecone:step 7: glue circle on top
    With the circle method, sew the hanging loop (next step) to the circle before gluing the circle in place.
  8. Cut a length of thread a little longer than twice the desired finished length of the hanging loop. Thread the needle with both ends and sew the ends through the top of the ornament (if using the eased-top method, bring the needle out between tucks). Remove the needle and tie the ends of the thread together securely. Trim the thread tails. If using the eased-top method, pull the hanging loop to bury the knot between the tucks and scales of the ornament; if using the circle method, hot glue the knot side to the top of the ornament.

That’s it! Play with different shears or blades to change the look of the scales and make a whole treeful.