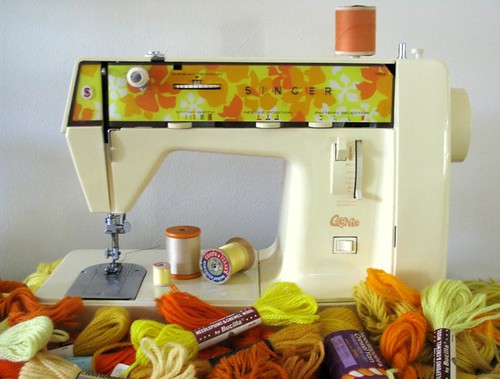
The Other tipped me off to a huge pile of needlework yarns at a local thrift store last week, and while loading up on crewel wool and tapestry yarn, I also picked up this little beauty for $25.
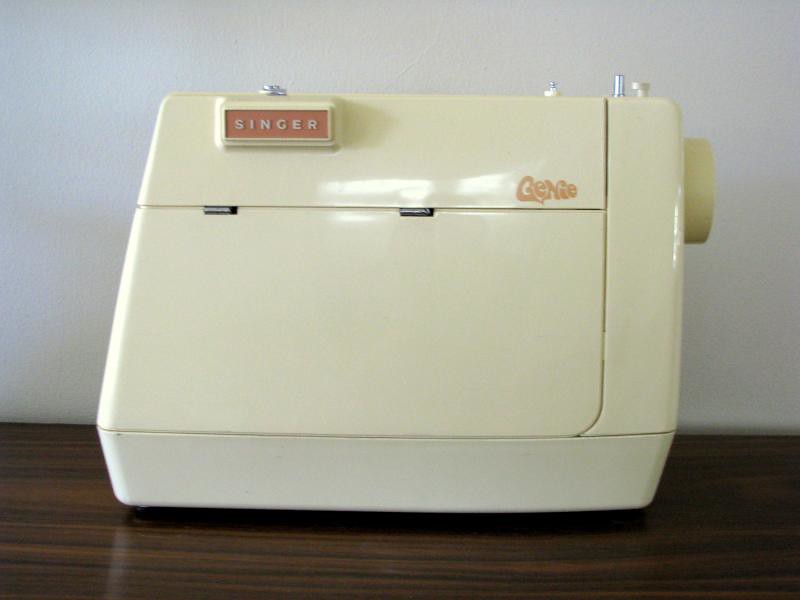
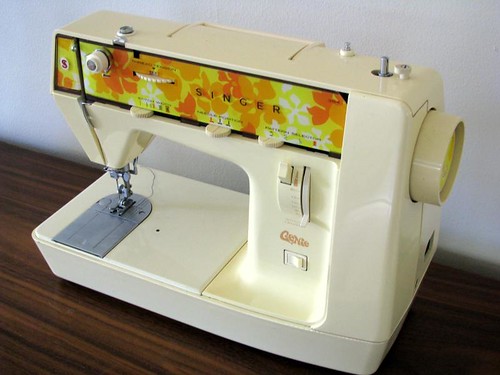
It’s a Singer Genie 354, and I’m clearly not the only one to have been taken with its groovy yellow and orange floral stylings. But the real reason I bought it was its portability: it’s relatively lightweight and compact, sort of like a mod version of a Featherweight. And the foot pedal and cord all pack up neatly into the hard case, so I won’t forget to bring the pedal (or lose it) when I bring the machine to classes.
The machine was pretty much in working order, but the tension was tight even when set at 0. And just to assure me that it really was a problem, the outer parts of the tension assembly popped off while sewing and went careening across the room.
The machine obviously needed some repair, but I didn’t fancy the idea of spending twice what I’d paid for the machine on having it serviced (I learned long ago that you can’t have a sewing machine repaired in any capacity without paying for a complete servicing). At Quilt Market in May, I’d chatted with Nicole Vasbinder, author of Sewing Machine Secrets and Sewing Solutions
, who told me sewing machines really aren’t things to be scared of—even when it comes to servicing them, there’s a lot you can do yourself, especially on fully mechanical machines. Emboldened by her advice, I gathered my screwdrivers and set to work.
This sounds like the part in the story where I’m going to say it all went horribly wrong, but I’m pleased to say otherwise! This sort of tinkering inevitably takes a lot of trial and error, especially for someone like me who’s learning the mechanics as I go. Fortunately the Internet is full of resources. In addition to the instruction manual on the Singer website, I found an extremely helpful guide to taking the cover off the machine (look for the button under “The Free Stuff”). One of Nicole’s suggestions was to seek out the service manual for a particular machine; I located one, but I wasn’t keen on spending the $9 for a pirated copy. I found a detailed tear-down of a tension assembly for a different model of machine (more here), and though the parts were slightly different from mine, it helped me figure out how things were supposed to fit together and confirmed that the check spring on my tension assembly had been misassembled from the start.
The cover-removal info also described how to remove the tension assembly, and after doing so, it became apparent that it hadn’t been properly connected to the adjustment knob in the first place. So I hooked it up, put everything back together, and lo and behold, it sewed beautifully!
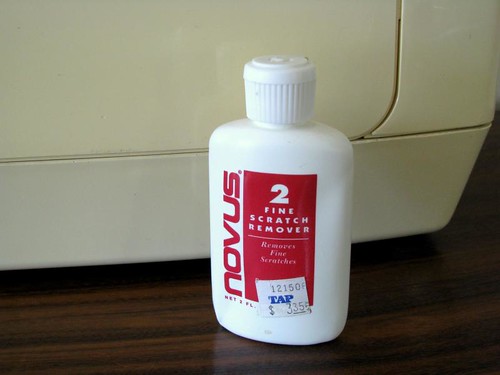
With the machine in good working order, I turned to cosmetic fix-ups. I brushed out all the grimy dust I could get to, and scrubbed the plastic casing down with some plastic cleaner the Other had lying around. It didn’t do much for the yellowing of the plastic, but it was fantastic at taking off scuffs and cleaning out scratches, and generally reducing the knocked-around look the machine had been wearing.
Next time I’m taking a class, I’ll put her through her paces and see how she holds up!


2 comments:
Great score. Now maybe you can come and fix the tension thingy on my longarm. ;)
Isn't she just the cutest little machine! Good luck with her, she was a good purchase!
Post a Comment