
Often known as invisible thread, monofilament is a very fine, clear thread that’s, well, virtually invisible. Stitch down the edges of an appliqué shape with it, and you’ll pretty much never know the thread is there. Perfect!
Except when it’s not. Monofilament behaves differently from conventional threads because it’s made by a different process. Most threads are made from fibers twisted together into a thread with multiple plies, whereas monofilament is (literally) one long strand of extruded plastic. So the monofilament is usually springier and can be frustrating to work with when you’re used to conventional threads. Here are some tips for taming monofilament.
Use quality thread.
Bargain-basement brands can be stiff, thick, and harder to work with. This is one place where pinching pennies isn’t worth it. I use Sulky Invisible Thread—even the smallest spool has 440 yards, which will last a long, long time.
 |
| I use the clear thread for appliqué, but the smoke thread is shown in the photos below so you can see it better. |
I recommend a polyester monofilament, mainly because it’s more heat resistant than nylon. It seems to me to be softer too, and it’s not supposed to yellow over time. But other teachers swear by nylon monofilament. See what you like best.
Pair it with the right needle and bobbin thread.
For the extremely fine thread, use an extremely fine needle: my machine likes a size 60/8 microtex (sharps) needle with the monofilament I use, but some students find better success with a 70/10. In the bobbin, use a lightweight cotton, around 60 weight. The texture of the cotton fibers can help grab the slick monofilament (or so I’ve been told!).
 |
| Aurifil’s 50-weight thread is 2-ply, so it’s similar in fineness to Mettler’s 60-weight fine machine embroidery thread. |
Orient your spool properly.
The way thread is wound onto a spool determines which spool pin you should use: stacked spools on the vertical pin, cross-wound spools on the horizontal pin. Many threads will cooperate with either pin, but getting the orientation right for monofilament can vastly reduce tension and breakage issues. I made an infographic to explain this better and help you remember what spool goes where.
 |
| Click the image for a printable, high-resolution version you can keep near your sewing machine. |
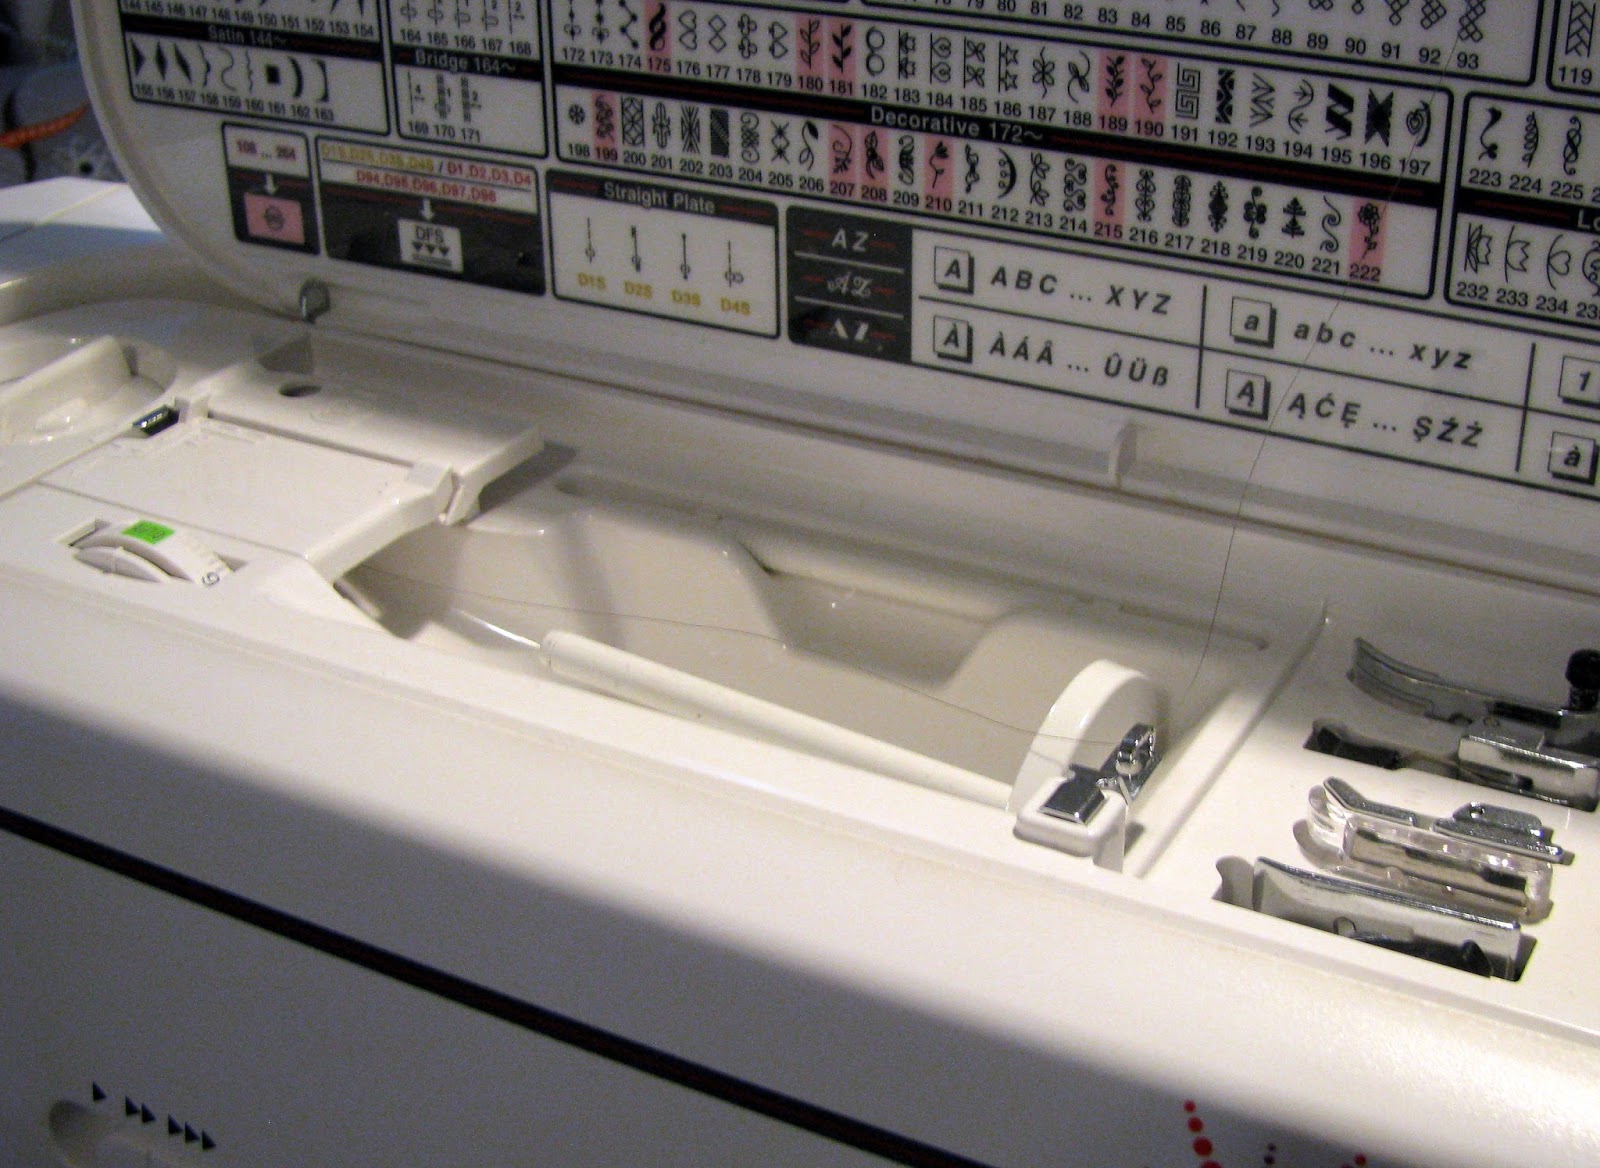
Read your manual and use your accessories.
Make sure you’re using the right spool caps, cups, platforms, pads, or whatever came with your machine to help thread feed properly. One of the most common problems I notice when teaching machine appliqué is students not using the right accessories to mount their spools. This especially happens with vertical spool pins, where manufacturers often provide some sort of base for the thread to rest on. If you don’t use it, monofilament will almost certainly wind itself around the bottom of the pin, increasing the tension until the thread breaks.
 |
| As the thread feeds, it’s winding around the spool pin below the spool. |
 |
| The lip of the spool cup lifts the thread away from the bottom of the spool. |
Watch for snag spots.
The bounciness of the thread makes it prone to catching on any protruding piece of the machine. Even with the right mounting accessories, monofilament may get wound up on the base or tip of a spool pin, or snag on a threading guide—I’ve even seen it catch on part of a machine’s handle.
 |
| See how the thread’s wanting to coil around the tip of the spool pin? When sewing at speed, this can cause a royal tangle. |
Make sure there’s a clear path from the spool to the threading and tension devices. As you’re sewing, if the thread starts to feel like it’s resisting and getting tighter, stop and check if it’s caught on something on the top of the machine. Because the thread’s meant to be invisible, it’s hard to spot when this happens, but you can usually feel it and sometimes correct it before the thread breaks.
Try a thread stand.
If your machine isn’t equipped with the right spool pin, or if the right spool pin still isn’t preventing snags, an external thread stand can guide the thread to the machine in a clearer, smoother path, and the extra distance between spool and threading device gives the monofilament space to relax a bit. I bought a thread stand that screws onto the back of my Janome 8900, and it’s usually the best place to feed my monofilament from.
 |
| If you look closely, you can see the kinks in the monofilament as it comes off the spool. See how much straighter it is when it comes back down to the machine (in front of the white spool)? |
 |
| My machine uses a secondary threading guide with the thread stand, which helps keep the thread away from anything it could catch around. |
Adjust your tension.
Monofilament is a different beast, so you’ll need to adjust your top tension. I usually lower mine to about 1; the goal is to not see any bobbin thread on the top. Don’t be deceived by machines claiming to make “automatic” tension adjustments—it might sometimes feel like your machine is smarter than you, but I assure you it’s not! The auto tension can’t tell that you’re using funky, nonstandard thread.
 |
| “I’m your tension dial, and I’m made to be adjusted!” |
Monofilament makes appliqué easy and fast if know these secrets to making the thread behave. And that behavior is all about cooperation: your thread, your machine, your fabrics, and you yourself should be working together, and with all those variables, there’s no one-size-fits-all solution. Just be willing to experiment, and make a note when you find the settings and supplies that work best.
For more appliqué tips and a detailed lesson in how to sew invisible prepared-edge appliqué using monofilament thread, enroll in my Craftsy class, now with $10 off for blog readers!


