
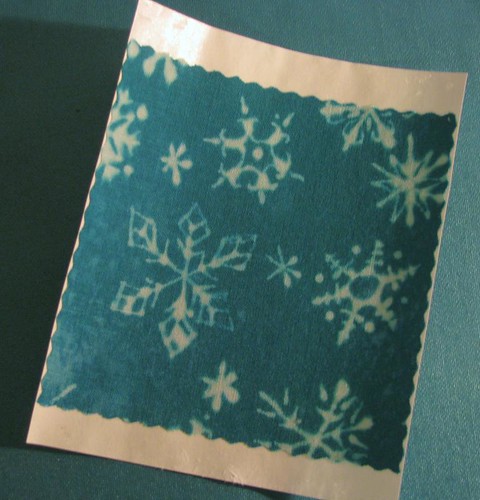
After much deliberating and prototyping, I decided everything would be much easier if I cut my fabric into mini charm squares—that is, 4" squares rather than the “official” charm square dimensions of 5". Shrinking to that size meant I could still feed the cards through my Sizzix BigKick machine for cutting and embossing without resorting to a nonstandard envelope size. So I made my cards A2 size, or a 5½×8½" sheet (half a letter-size page) folded in half, and may I just say that this designation is tremendously confusing as it has nothing whatsoever to do with international standard “A” paper sizes, by which “A2” would be about 4 times the size of letter paper. Anyway, now I know. And so do you, in case it ever comes up on Jeopardy.
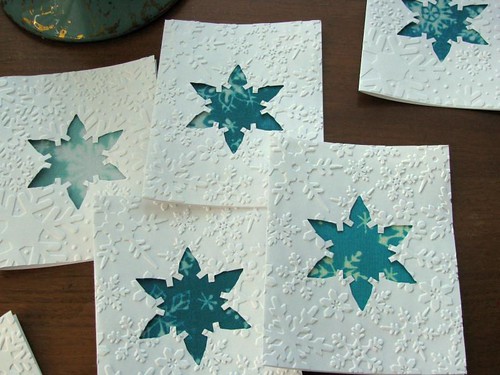
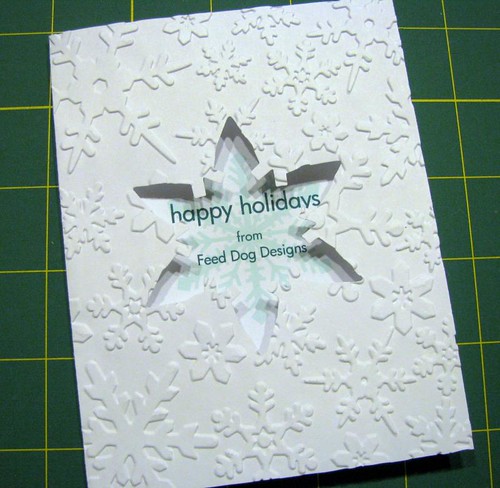
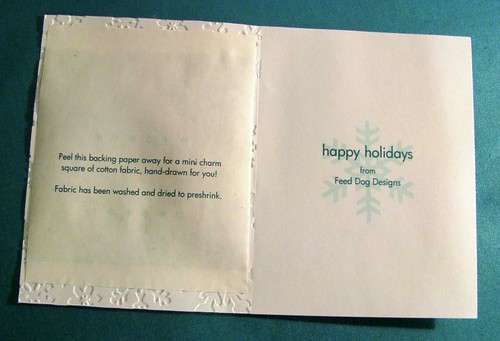
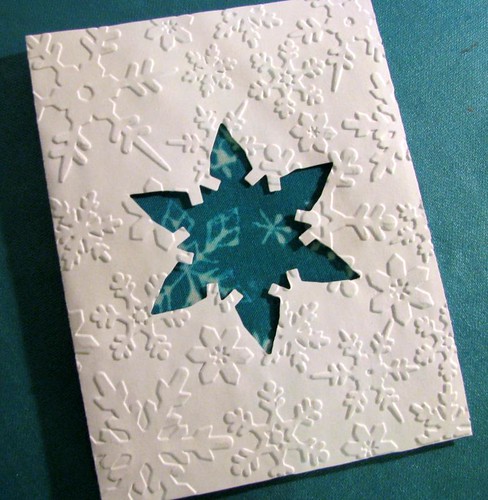
I printed my text and a snowflake on the inside of the card so it would be visible when I cut a window out of the front using a Sizzix Movers & Shapers snowflake magnetic die (you could cut a window whatever shape you want with a craft knife, of course). I embossed the card fronts with their Snowflakes #6 and Snowflakes #2 Textured Impressions folders after cutting the windows.
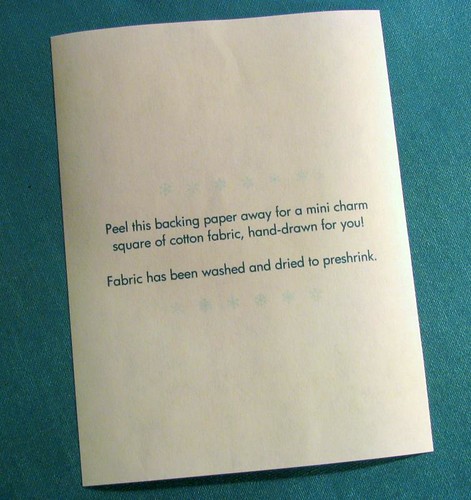
So here’s the trick: inside the card is a sheet of freezer paper that simultaneously explains to the recipient that yes, you should pull the card apart, and holds the charm square in place until the peeling commences. To hold the 4" square of fabric on the 4¼×5½" panel of the card, I set up 4⅛×5" freezer-paper labels, printed four on a page with an inkjet printer, and cut them to size. Precut letter-size freezer paper makes this a snap (and is a little meatier than the supermarket stuff), but you can cut regular freezer paper to page size for printing too.
Then place a charm square facedown on your ironing board, center a freezer-paper backing over it (shiny side to the fabric), and press the paper in place. When it’s cooled, peel the paper off your ironing board. There should be about ½" of freezer paper extending past the fabric on the top and bottom.
Those ½" margins will adhere the freezer paper to the inside of the card front: iron them to the cardstock gently and they should stick well enough to hold the fabric in place without squashing the embossing. It doesn’t have to hold with the strength of a thousand men/women/beasts, since you’re telling people to tear it off when they get it.
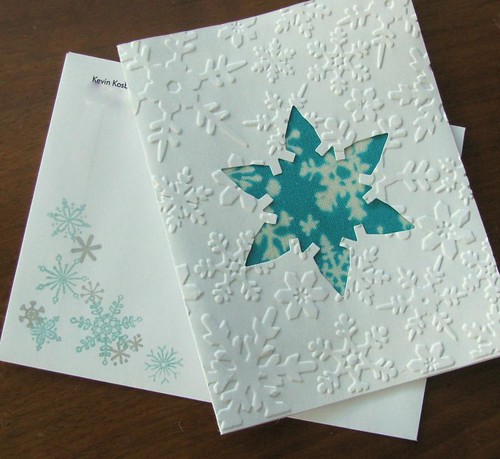
Close the card up, and there’s the fabric! I could have drawn my snowflakes so they’d be centered in the window, but just cutting the fabric as it was leaves the snowflakes peering enticingly through the window.
Since I was on a papercrafting kick, I stamped the envelopes to match. But hopefully the cards use papercraft to show that I’m a fabric guy while giving my contacts a little tidbit of handmade fabric for their stashes.
I’ve got a little something for my blog readers’ stashes, too, so stay tuned!

2 comments:
This is very cool. I might have to do this next year for my "bee" ladies.
Love this idea - especially for crafty friends.
Post a Comment