
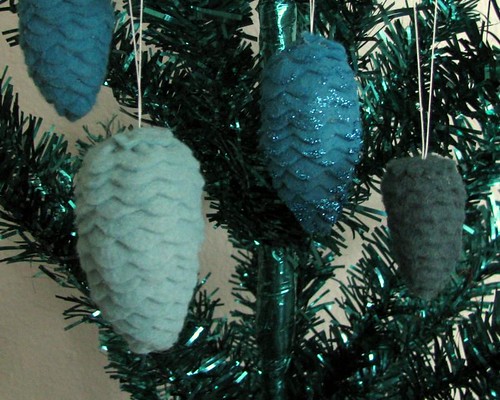
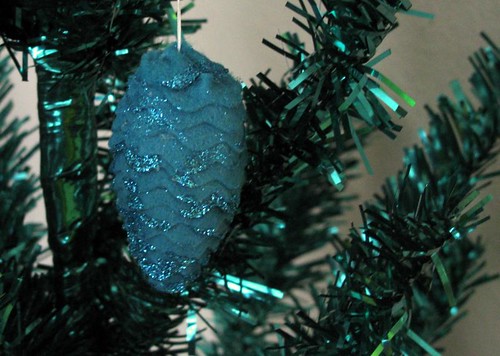
This is the basic version, but you can glam it up with glitter reminiscent of snow:
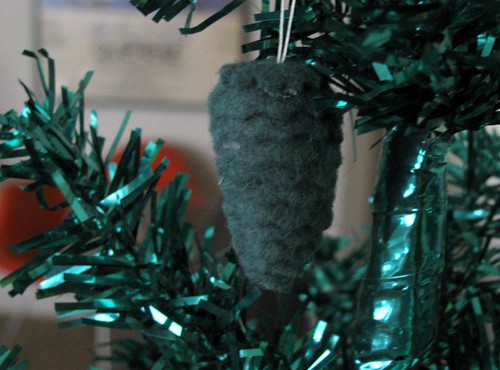
Use white glitter if you really want it to look like snow. Or make mini versions with pinked edges:
So how do you make the stinkin’ stingers? Well, follow along…
Supplies
- Aluminum foil
- Felt (you’ll use long strips, so a small amount of yardage would be best; ⅛ yard is more than enough for one ornament)
- Scalloping shears or rotary cutter with scallop blade (or pinking shears/blade for mini version)
- Hot glue gun with glue
- Heavy thread and hand needle
- Glitter, white glue, and disposable plate (optional)
Instructions
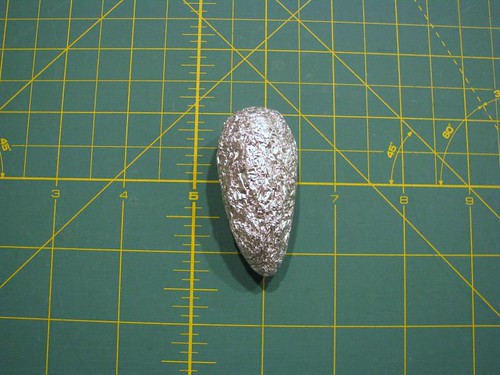
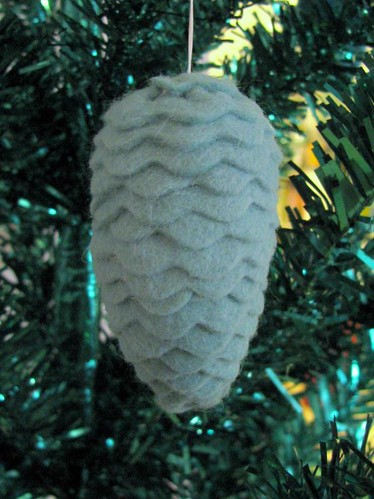
- Form a wad of aluminum foil into a shape vaguely resembling a pinecone. I made mine tall and fairly slender, but there of course are fatter cones out there, so do as you like. This foil blob became the large light aqua pinecone:
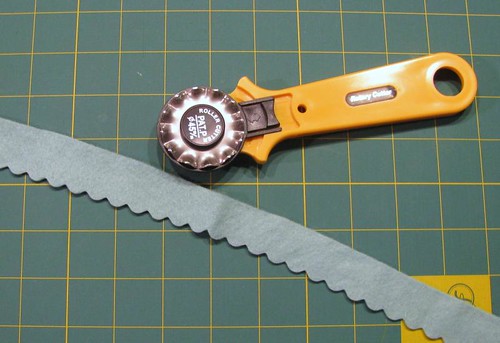
- Cut a strip about ½" wide from the felt, as long as you can, using the scalloping shears or rotary cutter. (If you can find scalloping shears, let me know—I’m beginning to think their existence is a hoax.) You’ll probably need to cut more than one strip, and it’s OK to leave on the inverted-scallop edge from cutting the first strip (actually, it’s helpful; see step 7). Do as I say, not as I show: the strip pictured is wider than it needs to be; ½" is plenty.
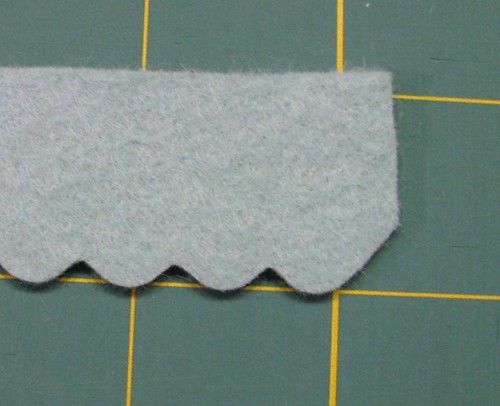
- Your strip probably won’t end with a neat scallop. Trim off any partial scallops to make it easier to overlap the ends.
- If you want to make the glittered version, pour some white glue onto a plate. Drag the scalloped edge of the felt through the glue. Then sprinkle glitter over the glue on the felt and let dry. Shake off the excess glitter when dry and then proceed with the rest of the instructions.
- Hot glue the end of the felt strip to the bottom tip of the foil blob, extending the scalloped edge a little bit beyond the foil. Wrap the strip tightly around the end to completely hide the foil tip. Wrap and glue in small sections so the glue doesn’t harden before you’ve stuck the felt to it.
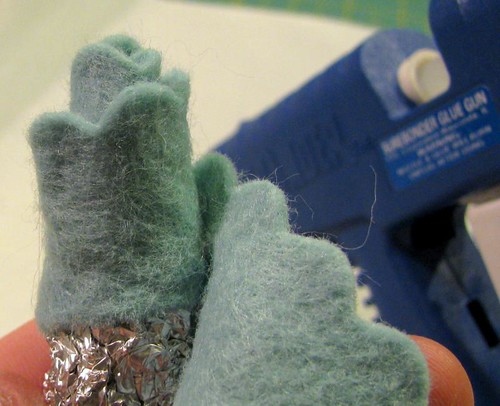
- Continue coiling the felt around the foil, overlapping the scallops so they look like individual scales. Add another strip if the first runs out, hiding the ends of the strips in the subsequent coils.
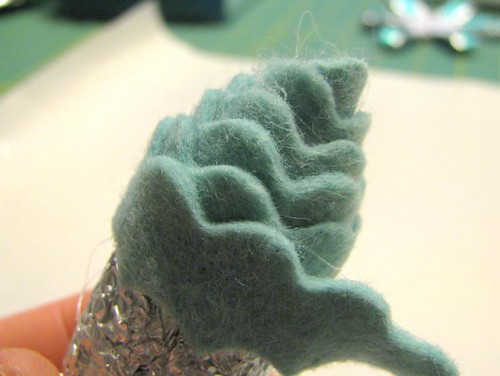
- The top of the ornament can be dealt with a couple of ways. As you can see in the photo above, the edge of my strip opposite the scallops had inverted scallop notches cut into it from a previous strip, and these notches helped the felt ease around the curved top:
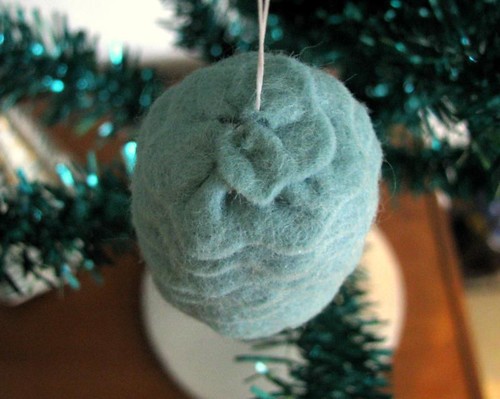
Instead, you could cut a circle of felt with the same scallop edge and glue that on, as I did for the bright aqua pinecone: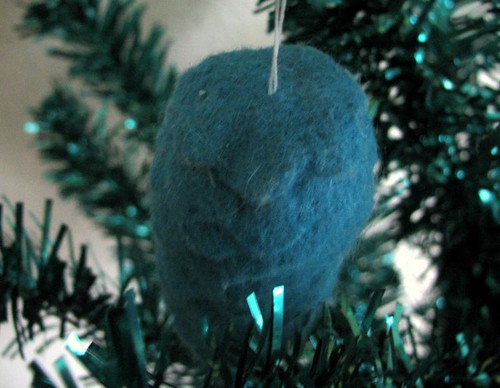
With the circle method, sew the hanging loop (next step) to the circle before gluing the circle in place. - Cut a length of thread a little longer than twice the desired finished length of the hanging loop. Thread the needle with both ends and sew the ends through the top of the ornament (if using the eased-top method, bring the needle out between tucks). Remove the needle and tie the ends of the thread together securely. Trim the thread tails. If using the eased-top method, pull the hanging loop to bury the knot between the tucks and scales of the ornament; if using the circle method, hot glue the knot side to the top of the ornament.
That’s it! Play with different shears or blades to change the look of the scales and make a whole treeful.

3 comments:
really really pretty! so simple and so pretty! i love the texture
OMG! i love that! I think Im going to have to make some!
I LOVE this project! I never have enough excuses to use my scallop edge cutter :)
Post a Comment